Deep Clean Without Harsh Chemicals
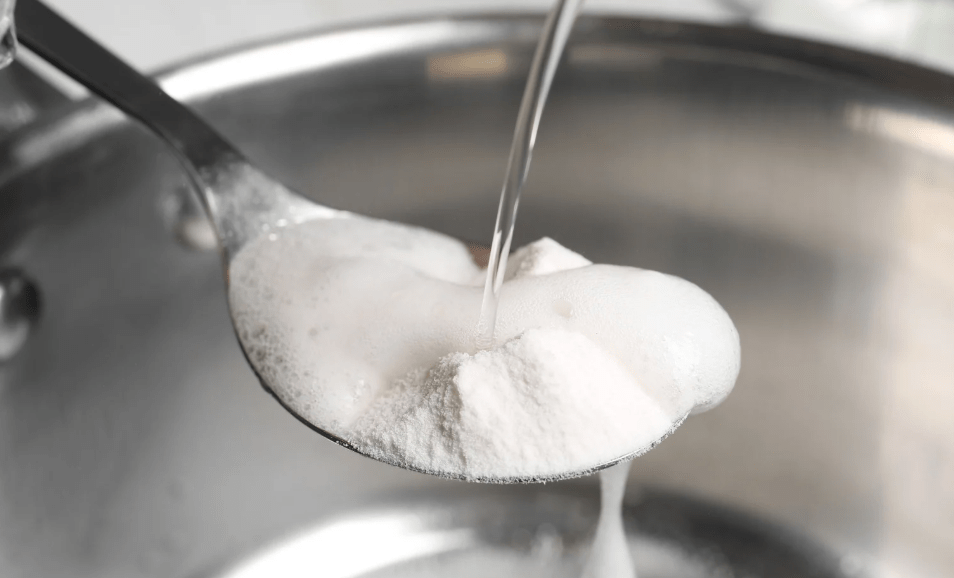
Keeping your toilet fresh, clean, and naturally disinfected doesn’t require harsh chemicals. With a few simple ingredients and the right technique, you can tackle grime, stains, and odors effectively. Here’s a detailed, step-by-step guide using baking soda and vinegar or hydrogen peroxide—the natural powerhouse duo.
Step 1: Wet the Bowl to Help Baking Soda Stick
Start by flushing the toilet once to wet the inside of the bowl. This is key because baking soda needs a damp surface to stick properly—especially in those tricky spots.
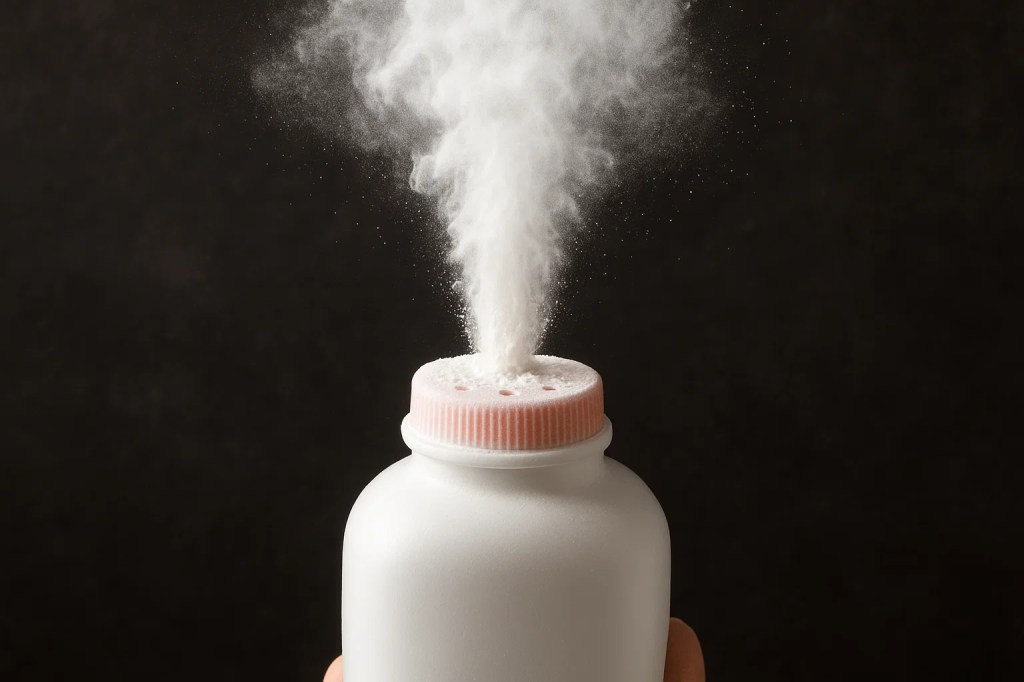
Step 2: Apply Baking Soda Evenly, Including Under the Rim
The inside rim of the toilet bowl is where a lot of grime and bacteria hide—and this area is often missed or poorly cleaned. You can’t just sprinkle baking soda from the top; it will fall straight down and miss the crevice.
Here’s a pro tip:
Use an empty powder container (like a baby powder bottle) or a fine mesh sieve to “poof” the baking soda up under the rim. This spreads the powder evenly in the crevice where grime loves to linger.
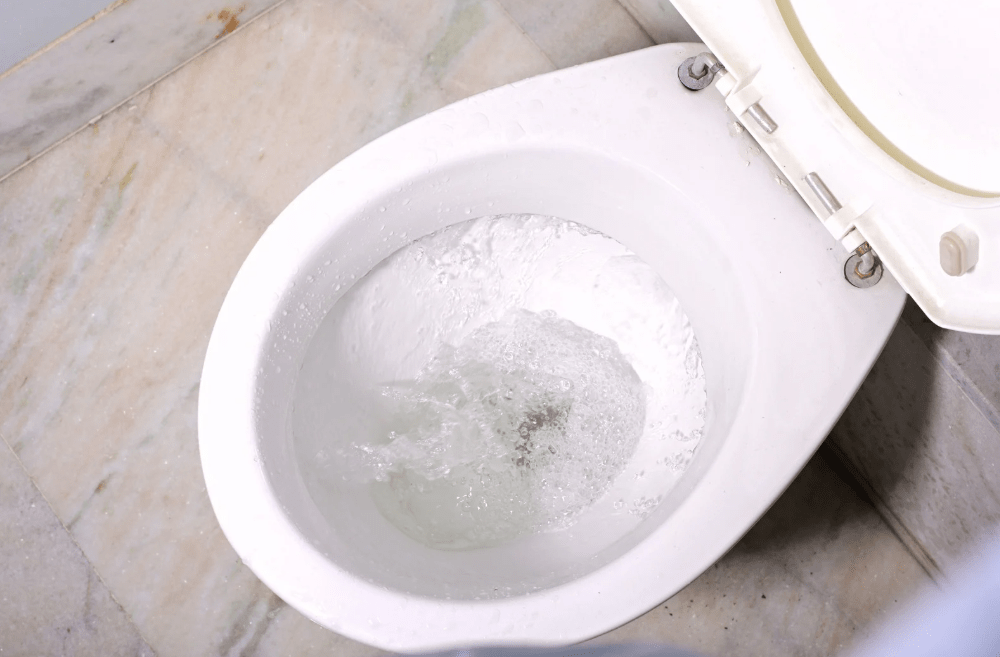
Step 3: Add Vinegar or Hydrogen Peroxide and Let it Fizz
Pour vinegar or hydrogen peroxide over the baking soda. You’ll see fizzing—that natural reaction helps break down buildup and kills germs. Let this sit for 10 to 15 minutes. The fizzing loosens grime so scrubbing will be easier.
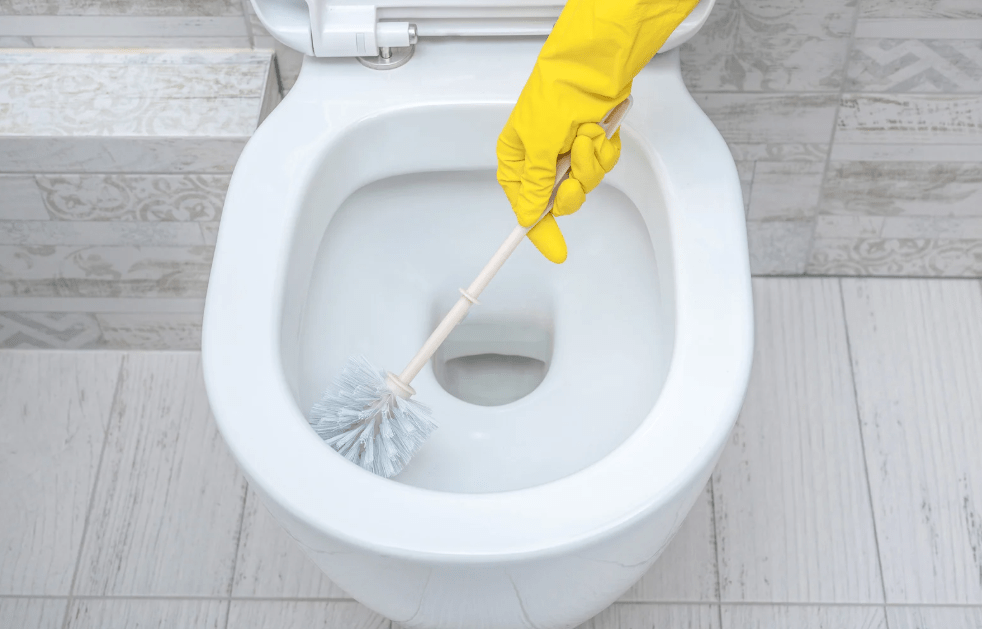
Step 4: Scrub Thoroughly, Especially Under the Rim
This is the step where many miss the mark:
Use your toilet brush to scrub the entire bowl, but make sure to angle the brush upwards into the rim crevice. If you don’t, black grime and bacteria will stay trapped up there.
Why does this matter? Because even if the visible bowl looks clean, that hidden grime under the rim is what causes bad odors and a bathroom that doesn’t smell truly fresh. Pro cleaners are expected to get into these tight spots—your clients will notice if you don’t.
A good tip is to use a small mirror to peek under the rim and make sure it’s clean and free of buildup. If you see black grime, keep scrubbing.
Step 5: Wipe Down the Exterior Surfaces
Don’t forget the tank, base, seat, and handle! These high-touch areas collect dust, dirt, and germs and need regular attention. Use your all-purpose sanitizing spray for this step—it’s perfect for killing germs and leaving surfaces sparkling clean.
👉 For tips on using all-purpose sanitizing sprays safely and effectively, check out my full guide here:
How to Use All-Purpose Sanitizing Spray for a Cleaner Home
Step 6: Final Touch—Fold the Toilet Paper Roll
For that professional finish, fold the end of the toilet paper roll on the holder into a neat triangle point. This little detail, common in hotels, signals to clients that the bathroom has been thoroughly cleaned and cared for.

Why This Natural Method Works
- Wet surfaces help baking soda cling to the bowl and crevices where grime hides.
- Fizzing action from vinegar or hydrogen peroxide breaks down buildup and disinfects naturally.
- Scrubbing with the right angle removes hidden grime that causes odors.
- Wiping the exterior with a sanitizing spray ensures germs are gone and surfaces shine.
Pro Tip: How Often?
Doing this deep clean once a week keeps your toilets fresh, odor-free, and hygienic—perfect for homes or commercial spaces.
Want to Up Your Cleaning Game?
Natural cleaning is about knowing how to get to the hidden spots and doing it right. Your clients will notice the difference when their bathroom looks and smells truly clean.
Need more tips like this? Just ask—I’m here to help you clean smarter, not harder.

Leave a comment